


1
2
3
4
5
6
7
8
9
10
11
12
13
14
15

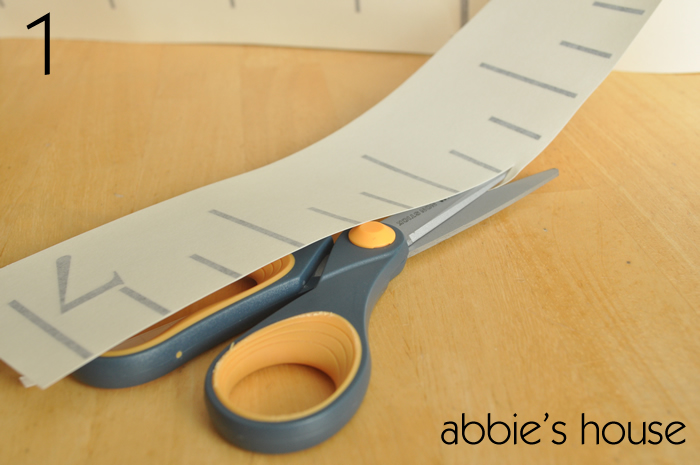
Step One
Before you begin, trim the edge of the decal, near the marks so that you can line it up with the edge of your wood. If your plan is to apply it to a wall, draw level marks to align the decal with.
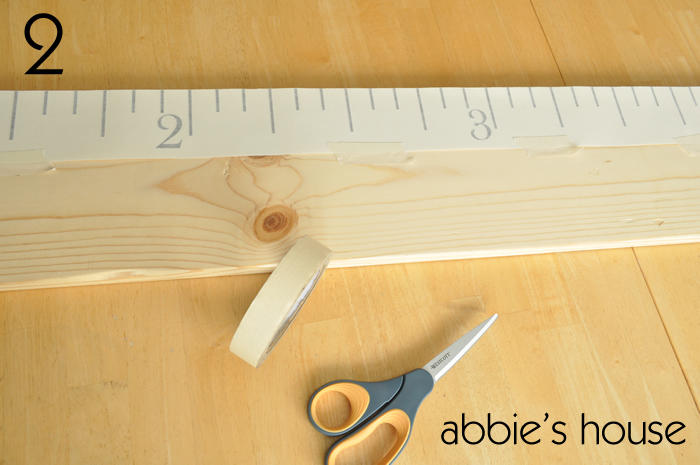
Step Two
Without removing the backing, center and align the whole decal on the board or surface. Tape the entire decal, including the backing, into place with masking tape. If you are planning on hanging it a few inches off the floor start the decal at that point and go up from there (i.e. if you are hanging the board 12 inches off the floor, start the decal at 1 foot).
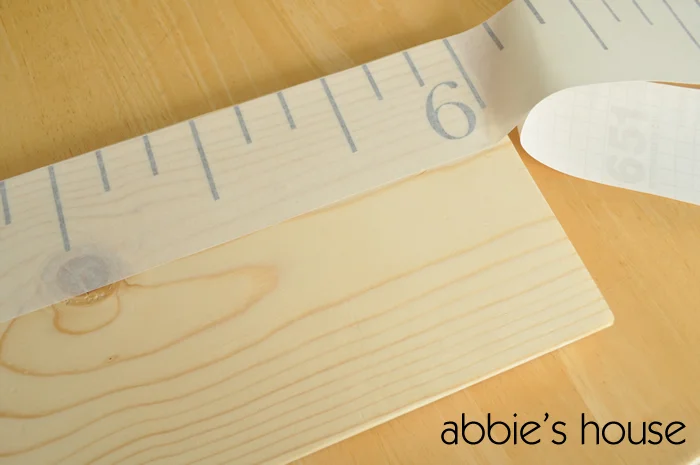
Step Three
With everything else taped down, pull up about 12 inches on the bottom and pull away from the backing. With scissors, cut away this section of the backing and gently stick the decal back down to the application surface.
Step Four
Now that this section is secure, remove the masking tape you applied to hold the decal in place and lift the unattached portion of the decal up. Continue to remove the backing in small sections and carefully press the decal into place. Be sure that the rest of the markings are staying aligned with the edge of the board or with the marks on the wall. Be careful not to leave any of the lettering on the backing.
Step Five
When all the vinyl is in place, press on all the pieces to be sure they will stick (you may want to use a stiff card) and then remove the top masking. Once again, be careful not to remove any of the vinyl with the masking.
After you have applied the decal, to enhance the durability of the chart you may want to apply a clear coat wood sealer to the entire surface. Using a spray on sealer is the best option, but carefully brushing it on also works well.
The wood can be written on with a small permanent marker. Enjoy your new growth chart!
Metric Option
If you are creating the standard/metric combination chart, follow the same directions for the metric side.